

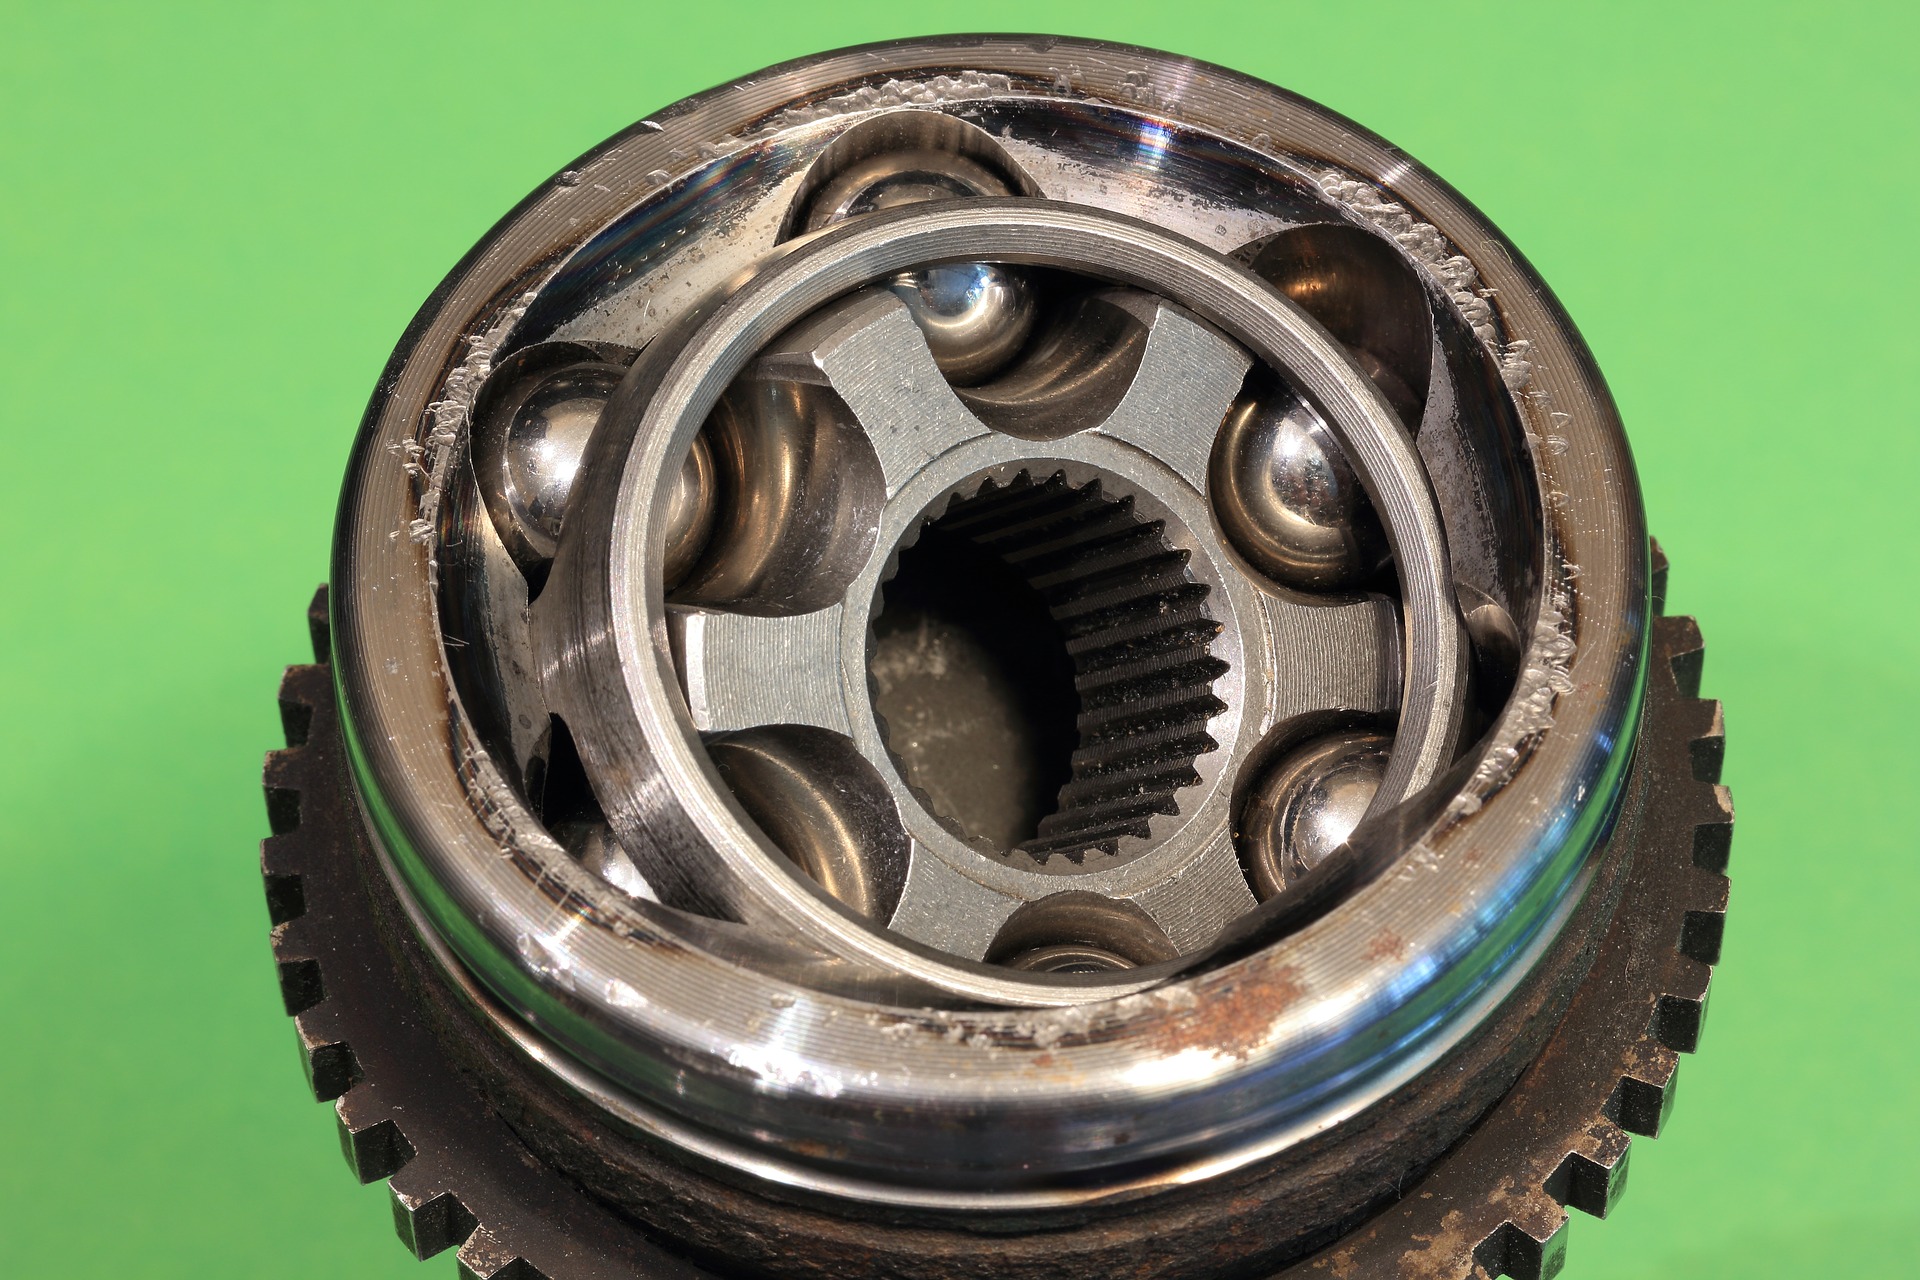
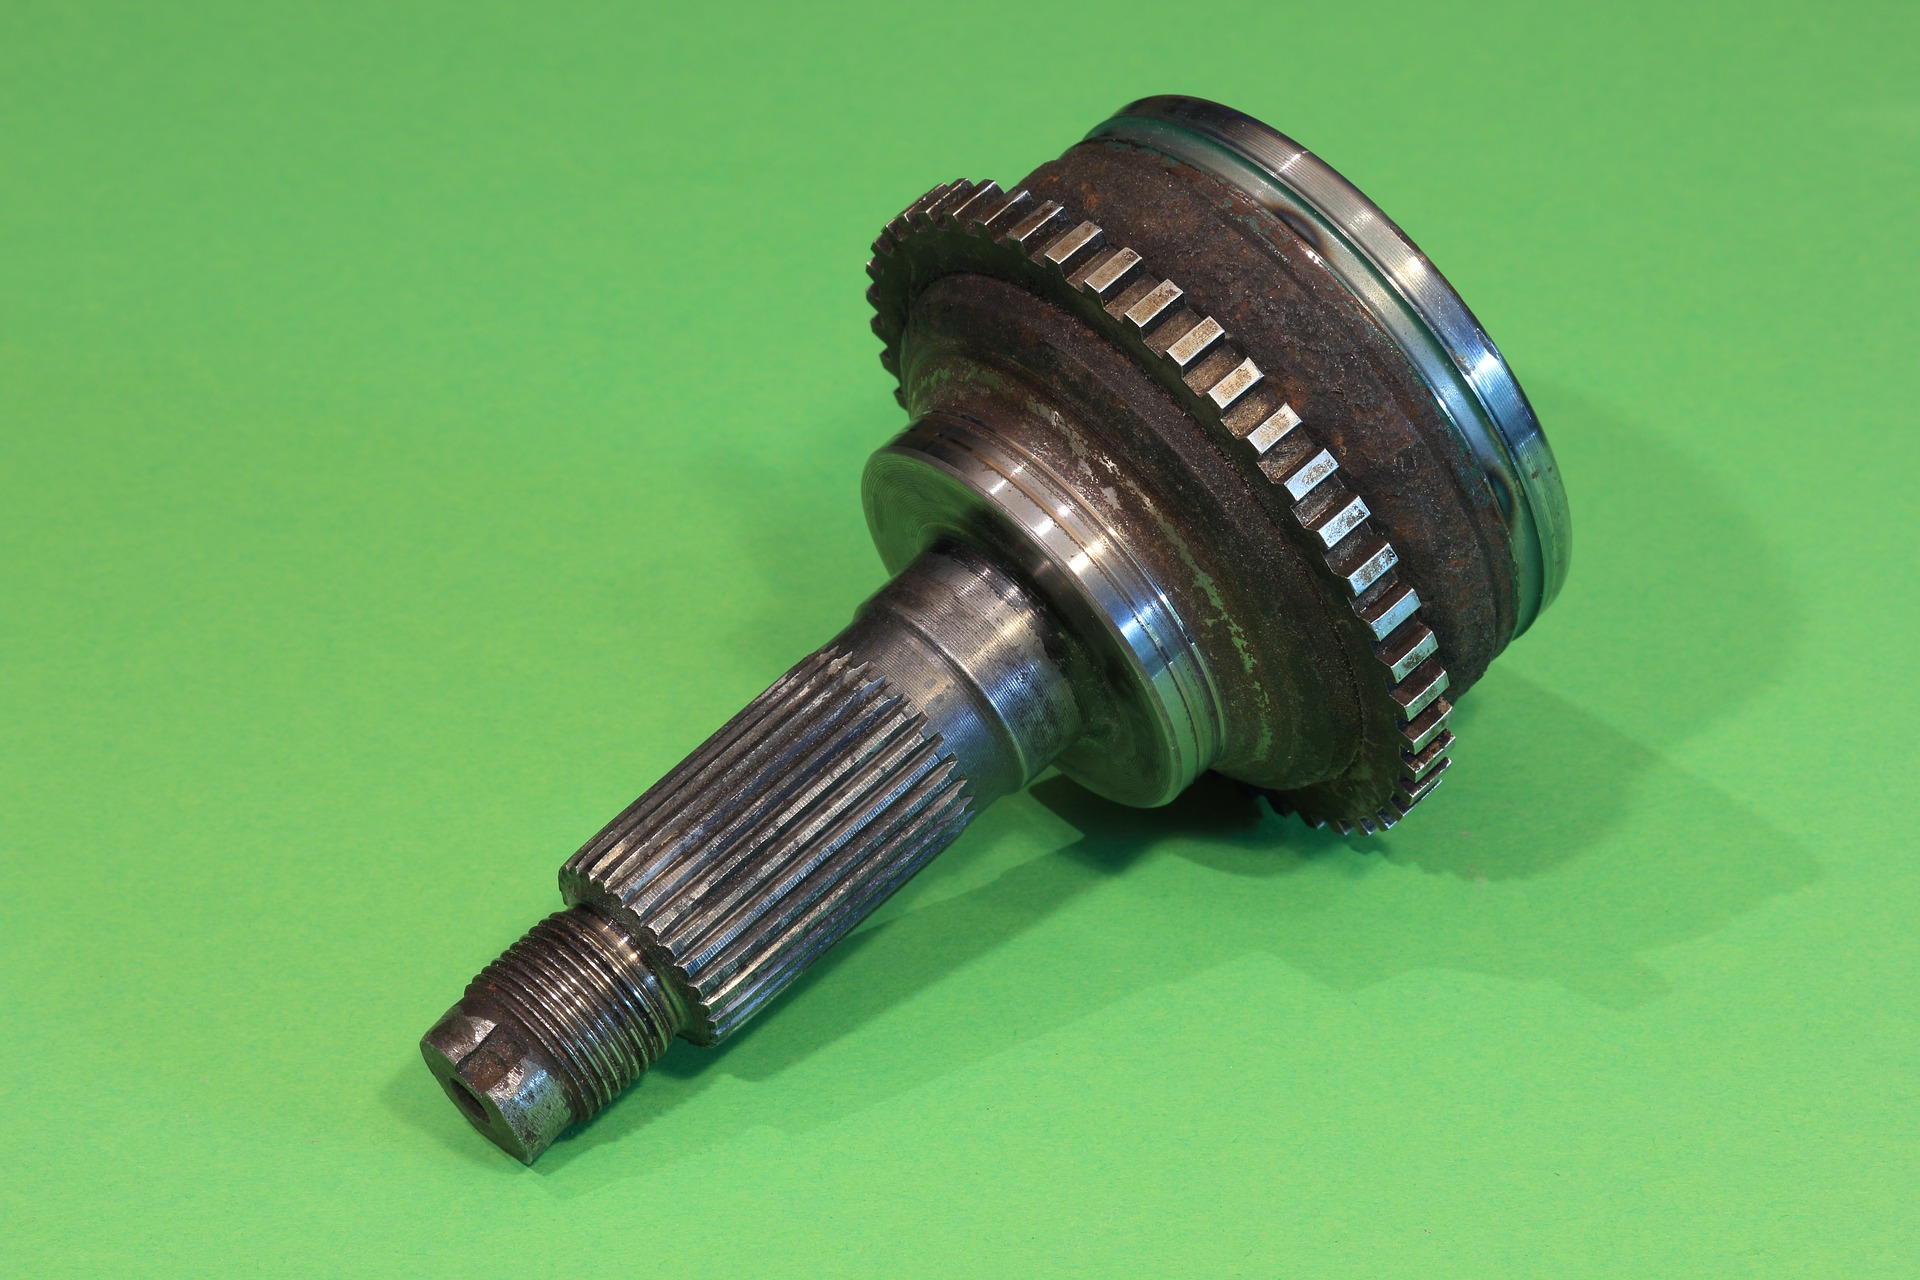
The constant-velocity joint (CV joint) allows the drive shaft to work at variable angles as it is transmitting power, all while maintaining a constant rotational speed.
Over time, the CV joint can wear down, and eventually it might fail because of a lack of lubrication or else a failed CV boot.
Although this can sometimes lead to more complex and costly issues, replacing the CV joint is not a major operation. In fact, you can do it yourself at home.
But first, you need to be sure that the CV joint is the problem.
3 Signs that You Need to Replace a CV Joint
When a CV joint is failing, some noticeable changes will happen to the vehicle. You’ll be able to identify these when you are driving.
Here are common issues that happen when the CV joint needs to be replaced:
There is a Popping Noise when You Turn the Wheel
This is a sure-fire sign of a damaged CV joint, specifically the outer one. To confirm the problem, go into reverse gear, lock the steering wheel all the way to one side, and then reverse in a continuous circle.
If the clicking or popping gets louder, you’ll know for sure that it’s the CV joint or shaft assembly.
Clunking Sounds During Acceleration or Deceleration
This can be a number of things, including inner joints or driveshaft CV joints, on either a front-wheel drive or rear-wheel drive vehicle.
To check if it an inner CV joint, reverse the car, alternating between fast and slow acceleration and deceleration. If it’s a CV joint, the clunking noise will get worse.
Growl or Hum
Quite often, this problem is because of worn out wheel bearing or a shaft bearing in the transmission. However, if lubrication on the CV joints wear thin, you might hear a humming or growling sound from the car.
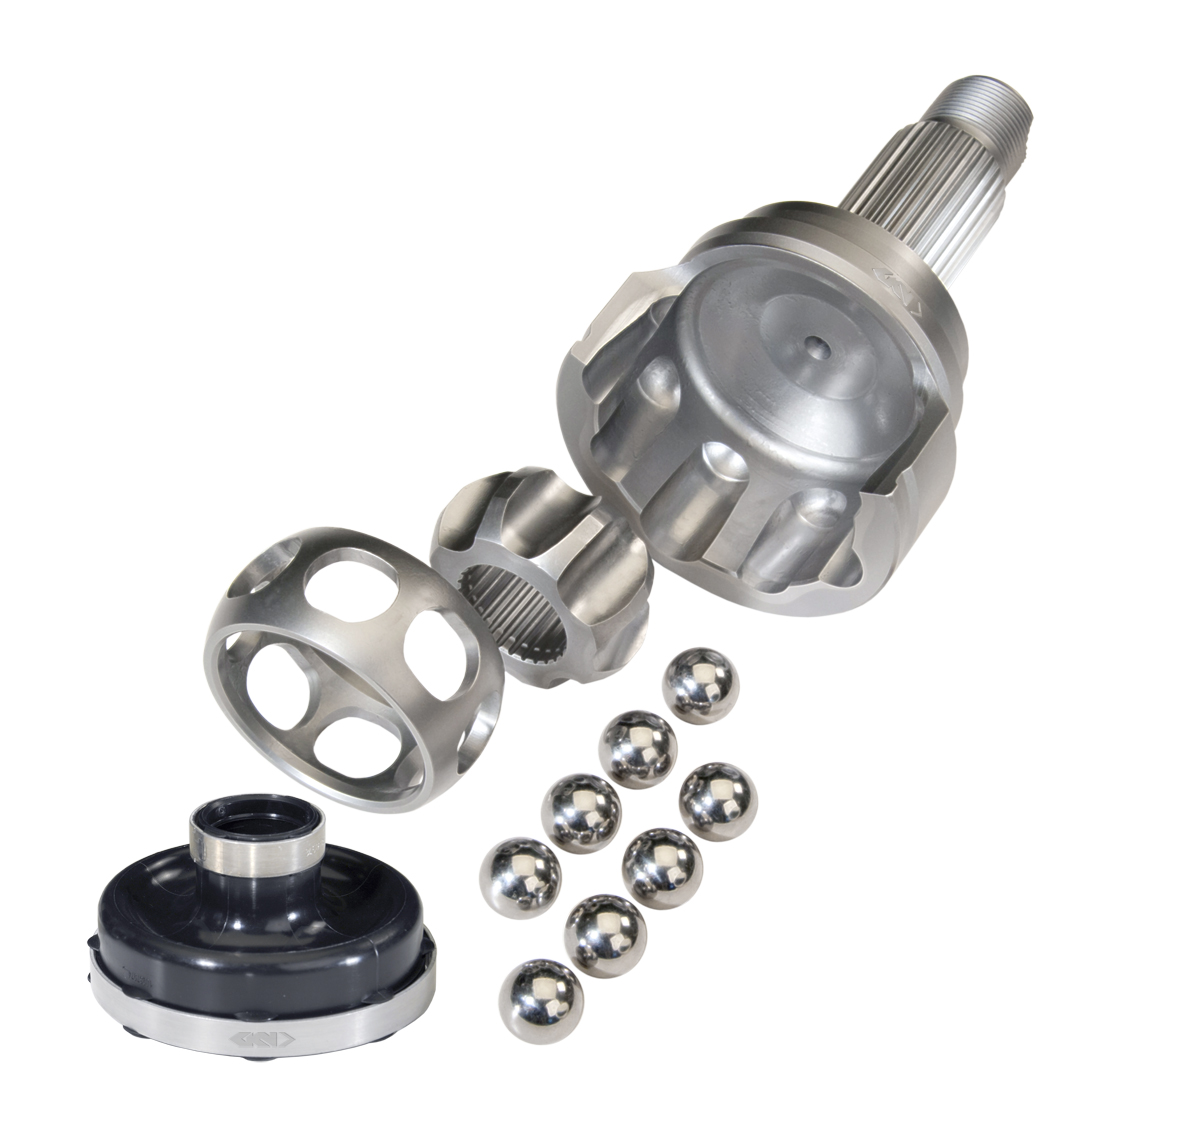
CV Joint Disassembly
It’s not as difficult as you might assume to dissemble a CV joint:
- 1To start, you need to remove the CV joint from the axle shaft. Depending on the make and model of the vehicle, the method for this may vary. Some CV joints are easy to just pull straight off, while others have lock ring or snap ring that you must first release.
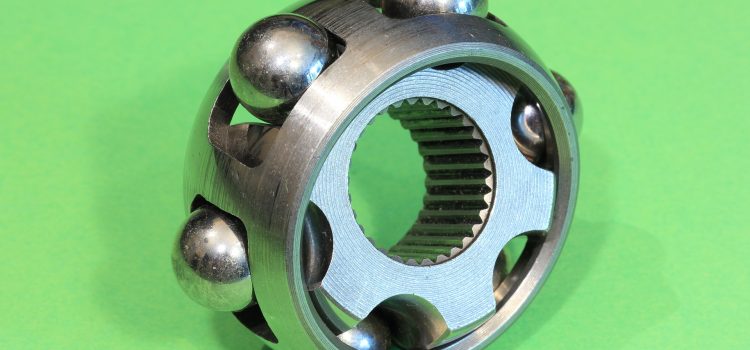
- 2After the joint has been removed, you can start disassembling it. Insert a dowel into the inner shaft splines and tilt the race all the way to one side. One of the balls will be exposed, and you can use a screwdriver to pop it out through the cage window.
- 3Tilt the race to the opposite side and use the same method to remove the next ball. Continue this until all the balls have been removed from the CV joint.
- 4Rotate the empty cage sideways, so that you can remove it and the race completely from the outer housing.
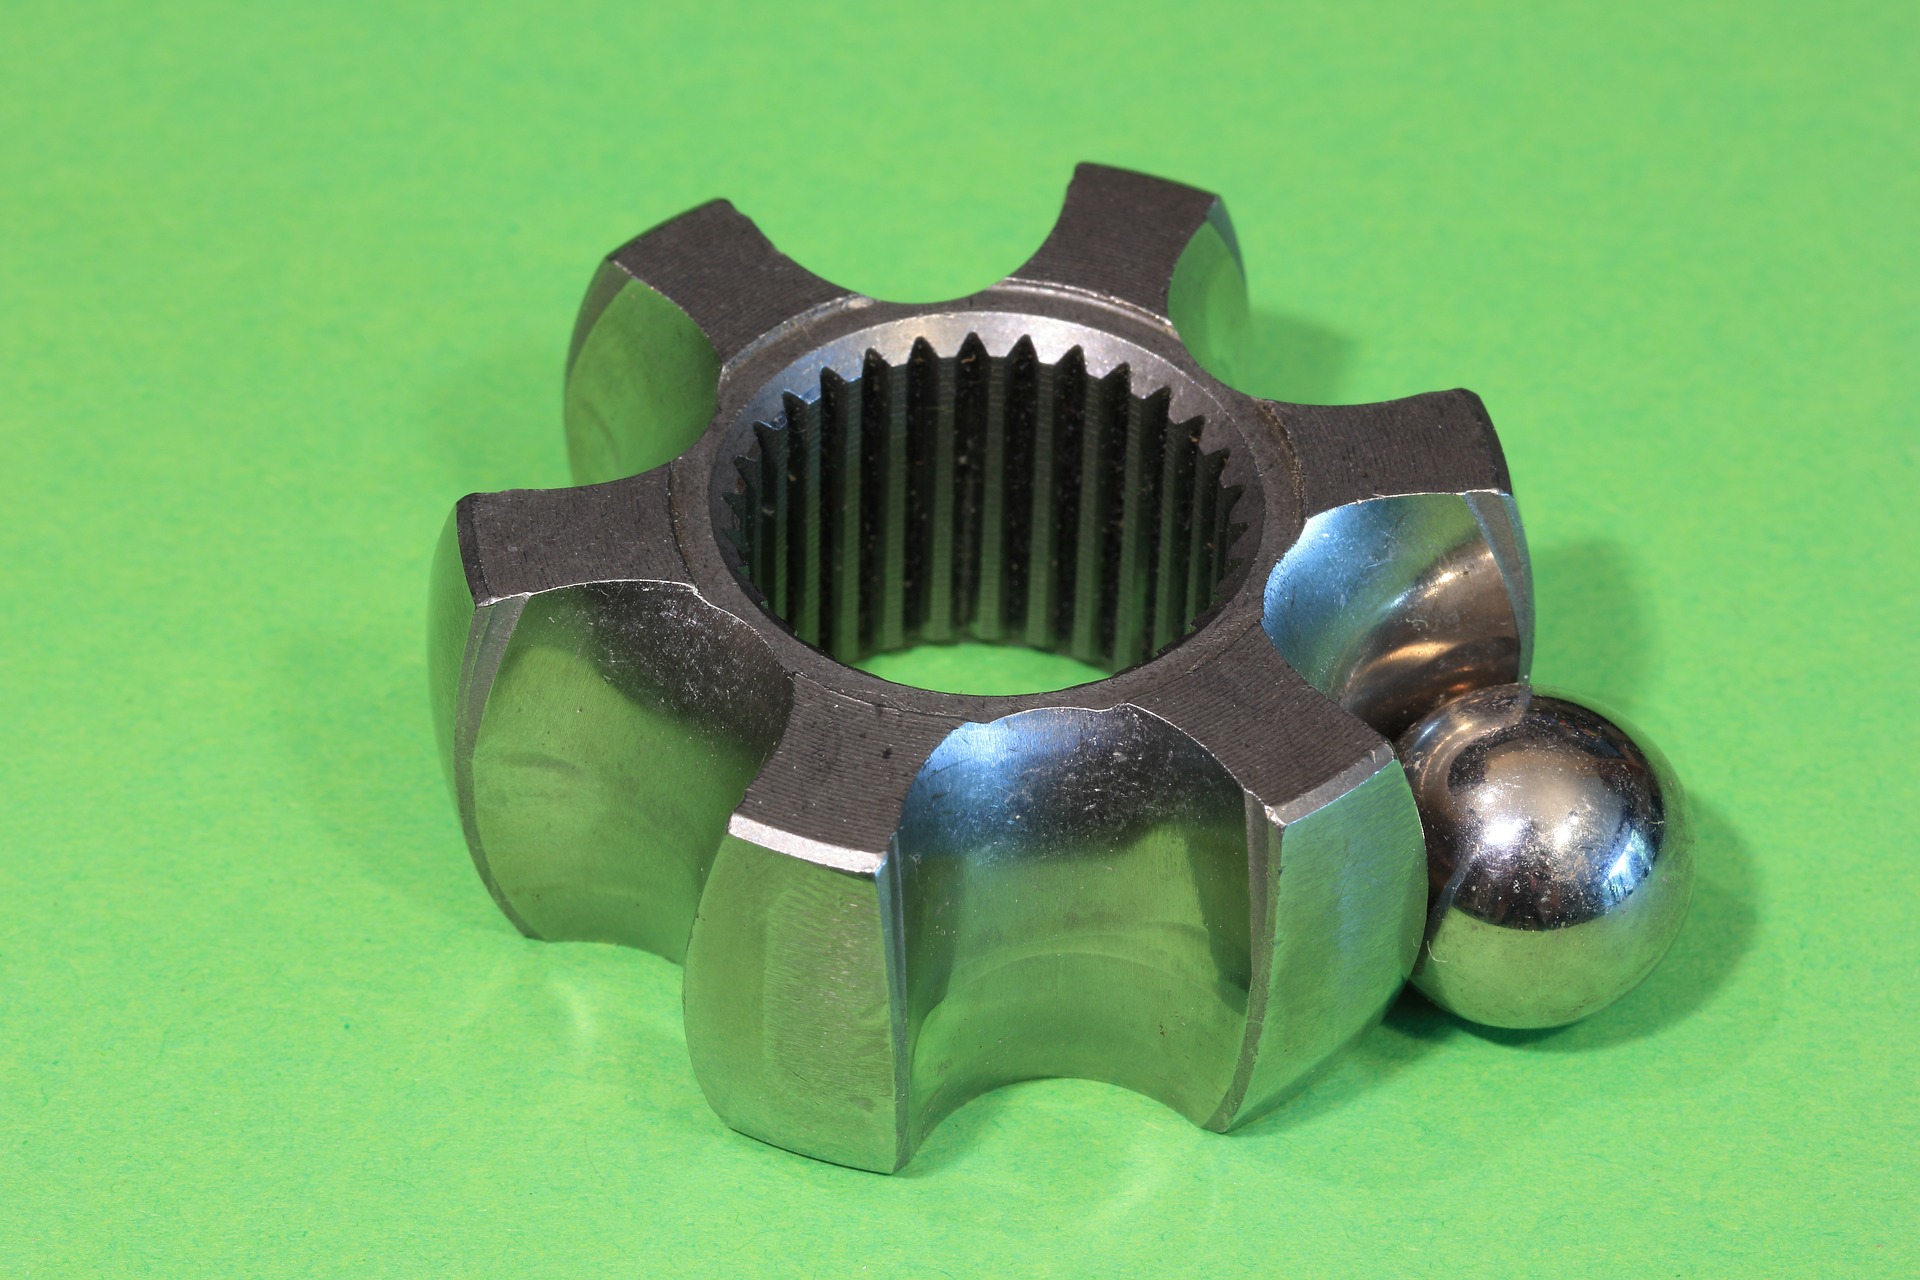
- 5Inspect the balls for any damage, such as cracks, gouges or flaking on the surfaces. Also look at the tracks of the inner race and outer race.
- 6Inspect all cage windows for any wear, cracking or dimples. If the balls are loose inside their cage window, that’s what causes popping or clicking noises.
Take care to keep the balls in the right order as you disassemble the CV joint. Over time, each ball and its respective cage and track develop a unique pattern from wear and tear. Mixing the balls up can cause new problems.
Unless you find significant damage or wear, it’s fine to reuse the CV joint. Otherwise, if it doesn’t pass the inspection, you can replace the unit.
CV Joint Replacement
In the case where the CV joint has completely failed, there are several options for replacement:
- New CV joint
- Remanufactured CV joint
- Total shaft assembly replacement (with either new or remanufactured joints)
Many professionals opt for a total replacement of the shaft assembly, because it actually saves time as you don’t need to mess around with individual joint repairs. Another benefit is that shafts tend to be covered by a lifetime warranty.
Here’s the general procedure on how to replace the CV joint:
Remove the Axle Hub Nut
Park the car so the wheels are on level ground. Use a torque wrench or breaker bar to loosen the axle hub nut. Engage the brakes to stop the car moving as you loosen the nut.
After the nut has been removed, its torque is gone. Discard it and use a new one when you reassemble.
Don’t use an impact wrench as the vibrations can damage the CV joint, or cause damage to the transaxle gears.
Remove the Wheel
Next, you need to get the vehicle raised up, so that the front suspension hangs free. This will allow you to remove the front wheel where the problem joint is.
Remove the Shaft
This step will vary depending on the type of car. To make this step easier, get someone to help by putting pressure on the brake pedal as you work on removing the shaft nut. This will stop the entire hub assembly rotating as you work.
There are a few possible methods to remove the shaft nut:
- 1Typically, many import cars will have the CV joint bolted on to a stubby shaft. The inner joint must be disconnected first, before the steering knuckle hub and outer joint are Separated.
- 2For a lot of GM vehicles, there is a circlip that keeps the CV joint shaft in differential gear. You need a special device called a slide hammer axle puller to remove the shaft.
- 3In some cars, the inner CV joint is plugged into the transaxle, whereas the stub shaft is integrated in the joint housing. You must disconnect the outer joint and steering knuckle, then pull the inner CV joint from the transaxle. Remove the Ball Joint
Loosen the locating nut on the ball joint, but don’t remove it. Then, the lower suspension arm must be levered down, so you can release the ball joint free from the assembly.
Once you’ve freed it, lower the control arm. Take care on this stage, making sure that you don’t cause any damage to the rubber cover of the ball joint.
Free the CV Joint
Pull out the hub assembly. Using a power bar, you can normally leverage between the CV joint and transmission housing to free the CV joint. Just be careful not to bust the oil seal.
Now, you can pull the whole hub assembly out, take out the nut and washer for the drive shaft, and slide the CV joint out completely.
Install the New CV Joint
Follow the installation instructions on the new CV joint kit. It’s pretty straightforward as you are effectively refitting all the components you just removed, in reverse order, with the key exception being that you use the brand-new CV joint.
Clean everything before you install it and check that every bolt has been fully tightened.
Put the Wheel Back On
When you have the new CV joint in, you can refit the car wheel and shaft. Once the wheel is in position, use a torque wrench to install the lug nuts and your new axle hub nut. Tighten them to specifications.
Installing the shaft is just the reverse. Once everything is back together and the wheel is in place, the lug nuts and hub nut should be installed and tightened to specifications using a torque wrench (not an impact gun unless torque limiting sockets are used).
Some Grease is Good
While it takes some time and tools, the process of replacing a CV joint isn’t overly complicated. You just need to patient and take care when you are removing parts, making sure not to damage anything, and also being organized so that you remember what part goes where.
Removing the balls from the cage windows is a prime example. It’s important to keep them in order or you could replace them in the wrong way, leading to problems that didn’t exist beforehand.
After inspecting a CV joint, you may find it can be reused, but it may be best to get the opinion of a professional mechanic. In any case, whether you replace the CV joint or not, an important thing to remember is to add some grease.
Specifically, you should use CV joint grease. The joint should be packed with lots of this before you point it back on the shaft. You will find this grease with a replacement CV boot, or at any decent motor factors store, and the instructions on how to pack the joint with grease come with it.
Keywords: CV joint
No comments so far.
Be first to leave comment below.